You don't need a studio to photograph your work well. A window, a plain wall, a sheet of white card and whatever camera you already own will get you files good enough for a portfolio, a gallery submission or an online shop. What matters is control: the direction the light comes from, the position of the lens, and the colour of the final image. Get those three right and the rest is repetition.
Start with the window, not the camera
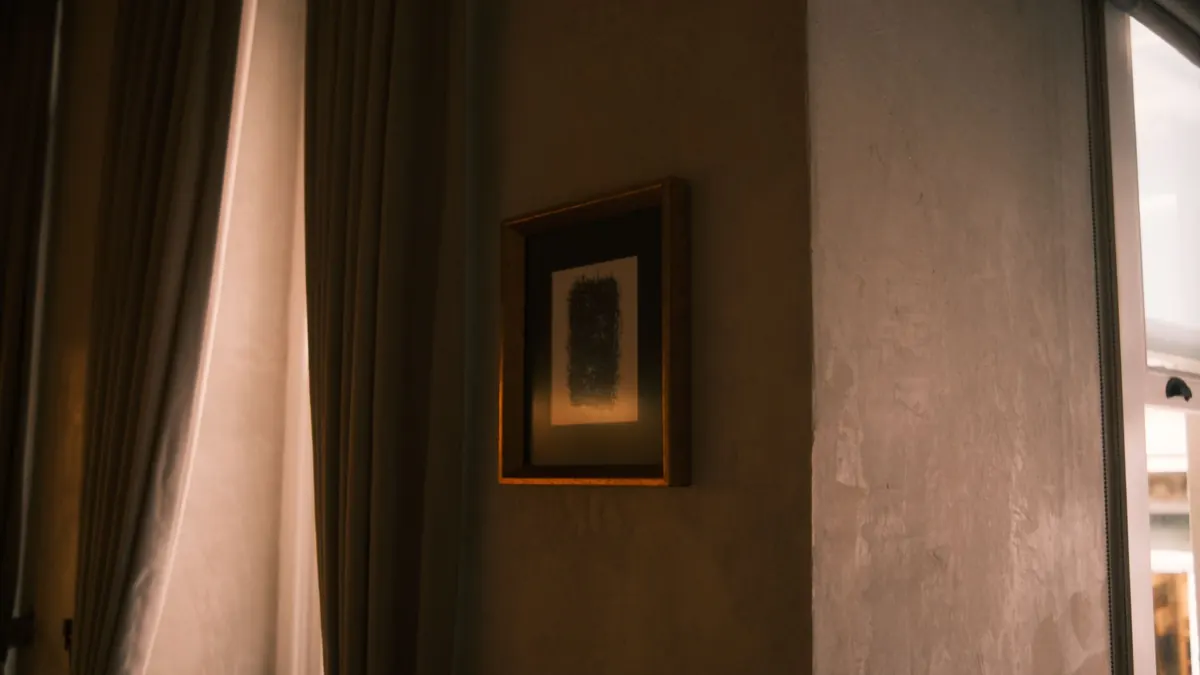
A north-facing window is the easiest light source in the house. It never takes direct sun, so the light stays soft and roughly the same brightness from morning to late afternoon. A south-facing window does the opposite: you'll be shooting in hard patches of sun for much of the day.
If your only option faces south or west, you have two choices. Shoot early in the morning, or on a bright overcast day, or diffuse the light. A sheet of baking parchment or tracing paper taped over the glass turns a harsh window into a softbox. Test it by holding your hand near the artwork: if you can see two distinct shadow edges, the light is still too hard.
Pick a time of day and stay with it. Light changes quickly, and the whole point of a home setup is that it can be repeated next week without rethinking it.
Build a setup you don't have to think about
Find a wall, table or stretch of floor about a metre back from the window. Not right against the glass, where the light falls off unevenly, and not deep in the room, where it's too dim. Somewhere in between.
- A backdrop. White or neutral grey foam board, or a clean, empty wall.
- A diffuser, if the light is harsh: parchment, tracing paper or a purpose-made panel.
- A fill card. A second piece of white foam board to bounce light into shadows.
- A support. A tripod, or a stack of books with a small spirit level on top.
- Darkness elsewhere. Switch off ceiling lights and close other curtains. Mixed daylight and tungsten is the most common cause of muddy, uncorrectable colour.
Keep work out of direct sun while you shoot. Strong sunlight fades pigment, and it will flatten every texture you're trying to show.
Camera settings worth changing
On a phone, use the main or 2x lens rather than the ultra-wide; a longer lens renders a flat painting with less distortion at the edges. Turn on grid lines, tap to focus on the most detailed area, and drag the exposure slider down a touch so highlights don't blow out. Use the two- or three-second timer, and shoot in RAW if your phone allows it.
On a camera: ISO 100–200, aperture around f/8 for flat work, RAW files, and a custom white balance set from a grey card. A 50mm lens or longer keeps edges straight. Whatever you're using, the timer or a remote release matters more than you'd think — the smallest nudge from a finger press shows up as softness.
Photographing flat work, step by step
- Position the piece vertically against the wall, fixed with low-tack tape on the back only. If the work is fragile, lay it flat on the floor and shoot from directly above instead.
- Set the camera at the height of the middle of the artwork and square it up, so the lens is parallel to the surface.
- Fill the frame, leaving only a slim margin so you have room to crop later.
- Level the camera in both directions. A crooked frame is obvious in a portfolio grid.
- Slide a grey card or sheet of white paper into the corner of the frame and take one reference shot, then remove it and shoot the clean version.
- Focus on the centre, use the timer, and take three frames at slightly different exposures.
- Zoom in to check the corners, not just the middle.
Glass-framed pieces are their own problem. Shoot in a room with nothing bright behind the camera — a dark wall or a cloth draped over your shoulder. If it's safe and the work permits, photograph the piece out of its frame entirely. Never lay a glazed frame flat under ceiling lights.
Three-dimensional work: angles, texture and consistency
For ceramics, sculpture, textiles or jewellery, the window becomes a side light. Place the piece so light rakes across the surface from one side; something lit from straight in front looks flat and dull. Put a white fill card on the shadow side, and for a very pale object, a black card behind it stops it dissolving into the background — but keep that background the same across the whole series.
Shoot a set for each piece: a straight-on view, a three-quarter view, a close detail of surface and edge, and the base or signature where relevant. Then repeat those same angles for every piece. Consistency reads as competence, and it saves you a frantic reshoot the week a deadline lands.
Colour accuracy, without a lab
White balance is where most home set-ups go wrong. Auto white balance drifts slightly from frame to frame, so a series of five paintings ends up with five subtly different whites.
Set it manually. Hold a grey card in the same light as the work, fill the frame with it, and either set a custom white balance in camera or use the eyedropper on it later. Plain white printer paper is an acceptable stand-in — not truly neutral, but consistent.
Then compare. Open the file next to the actual piece in daylight and look at the mid-tones and the strongest colours. Deep reds and blues are the usual casualties on phones: they clip and block up. That's why it pays to shoot a little darker than feels right and lift the shadows in editing.
Shoot slightly flat and slightly dark. Adding contrast and brightness later is easy; recovering detail that was never recorded is not.
Simple edits, in the right order
Crop to the edges of the work and straighten. Fix white balance with the eyedropper on your reference shot. Adjust overall exposure, then set the black and white points, then add a small amount of contrast. Leave saturation alone unless you know the file is under-saturated, and sharpen lightly — fine line work and canvas texture pick up halos quickly.
Export at around 2000 pixels on the long edge for screen use, in sRGB, as a high-quality JPEG. Name files in a consistent pattern, such as surname-title-medium-size, and keep the untouched originals in a separate folder so you can always go back.
Make it a routine
Batch the work. Photograph five pieces in one session, at the same window, at the same hour, with the same settings. Take the reference shot and the angle set for each piece, and check the images on screen before moving on to the next. A short checklist taped up beside the tripod prevents most of the mistakes you'd otherwise only spot a fortnight later.
None of this is expensive. It's simply consistent — the same light, the same angles, the same neutral colour. That is what makes a portfolio look like a body of work rather than a folder of snapshots.
Photo: Eyüpcan Timur / Pexels